PlotSet LogoPlotSet

How to Create a Stream Graph

A step by step walkthrough for turning a spreadsheet of categories over time into a published stream graph in PlotSet, from shaping the sheet to ordering the bands and exporting the result.

About 10 minutes

How to create a stream graph in PlotSet starts with a wide CSV of dates and categories, turned into flowing bands ordered so the biggest shift in the data is what a reader notices first. This walks the same click path a real PlotSet stream graph takes from upload to publish, not a demo running on someone else's numbers.

Ten minutes, if your data is already one row per date with a column per category, most of it spent on band order and colour rather than the upload. Reshaping a long format export, one row per date and category rather than one row per date, into the wide layout this chart needs adds another ten.

The data you need

Wide format: one row per time point, one column per category, values are the amount for that category at that time. One header row, dates in the first column.

Sample CSV
MonthHip-HopRockPopCountryElectronic
2024-0118400152002130091007600
2024-0219100148002190088008200
2024-0320500141002260086009000
2024-0421800136002220083009900
2024-05232001300021700810010800
2024-06246001250021100790011700
Notes

This is wide format, not long format. If your export instead has one row per date-and-category combination (a "Month, Genre, Streams" shape with repeated months), pivot it in your spreadsheet tool first so each category gets its own column.

Dates need to parse cleanly and stay in order. A first column of "2024-01", "Jan-24" or a real date type all work; a text column that sorts alphabetically instead of chronologically will scramble the bands.

Use even spacing where you can: weekly, monthly, quarterly. Gaps of uneven length between rows still plot, but the interpolation between a wide gap and a narrow one gets visibly less trustworthy.

Blank cells read as zero for that category at that time, not as missing. If a category genuinely did not exist yet, that is usually the correct reading; if it is a data entry gap, fill it in before uploading.


The steps

The exact click path in PlotSet, from a blank template to a finished chart.

  1. 01

    Open the stream graph template

    From the PlotSet dashboard, start a new project and choose the Stream Graph template. It loads with sample data already in the wide layout, so you can see exactly how a time column and several category columns turn into bands before you touch your own file.

    PlotSet's template picker: chart categories listed down the left, the Bar Charts grid open, and the Bar Chart template card showing its Select button.
    Every guide starts here. Pick the category, then the template: it is the same grid whichever chart type you are after.
  2. 02

    Shape your sheet into wide format

    Put your time points down the first column and one column per category across the top, with values filling the grid. If your source export is long format, pivot it now: a spreadsheet pivot table with dates as rows and categories as columns gets you there in one step.

  3. 03

    Load your CSV or connect a live sheet

    Use the data panel to import a CSV or .xlsx file, paste rows directly from a spreadsheet, or connect a Google Sheet if you want the graph to refresh when the source changes. PlotSet reads the first row as headers automatically.

    The PlotSet editor's data view: a spreadsheet grid with Name, Value and Region columns filled with Canadian province figures, beside the Data panel offering CSV upload, Magic Import and Google Sheet sync.
    The data view, shown here on a bar chart project. Upload a CSV, lift the numbers out of an image with Magic Import, or sync a Google Sheet. The panel is identical for every chart type.
  4. 04

    Map the time column and the category columns

    Confirm which column is read as the time axis and which columns feed the individual bands. This is usually automatic when your first column is clearly a date, but check it if PlotSet has picked up an extra column, like an ID or a total, as a band of its own.

    The PlotSet data panel with the column bindings highlighted: Label/time mapped to column A, Values to column B and Filter/color to column C, with the Auto Binding button below.
    Bindings decide which column becomes the label, which supplies the values and which drives the colour. Auto Binding guesses them from your headers, so check it rather than assume it.
  5. 05

    Order the bands so the shift reads

    This is the one setting that decides whether the chart tells a story or looks like a tangle. Order by peak time so early risers sit at the outer edges and late risers sit toward the middle, or use the inside-out ordering PlotSet offers if your categories rise and fall in an unclear sequence. Try both and see which one straightens the shape out.

  6. 06

    Style the bands and label what matters

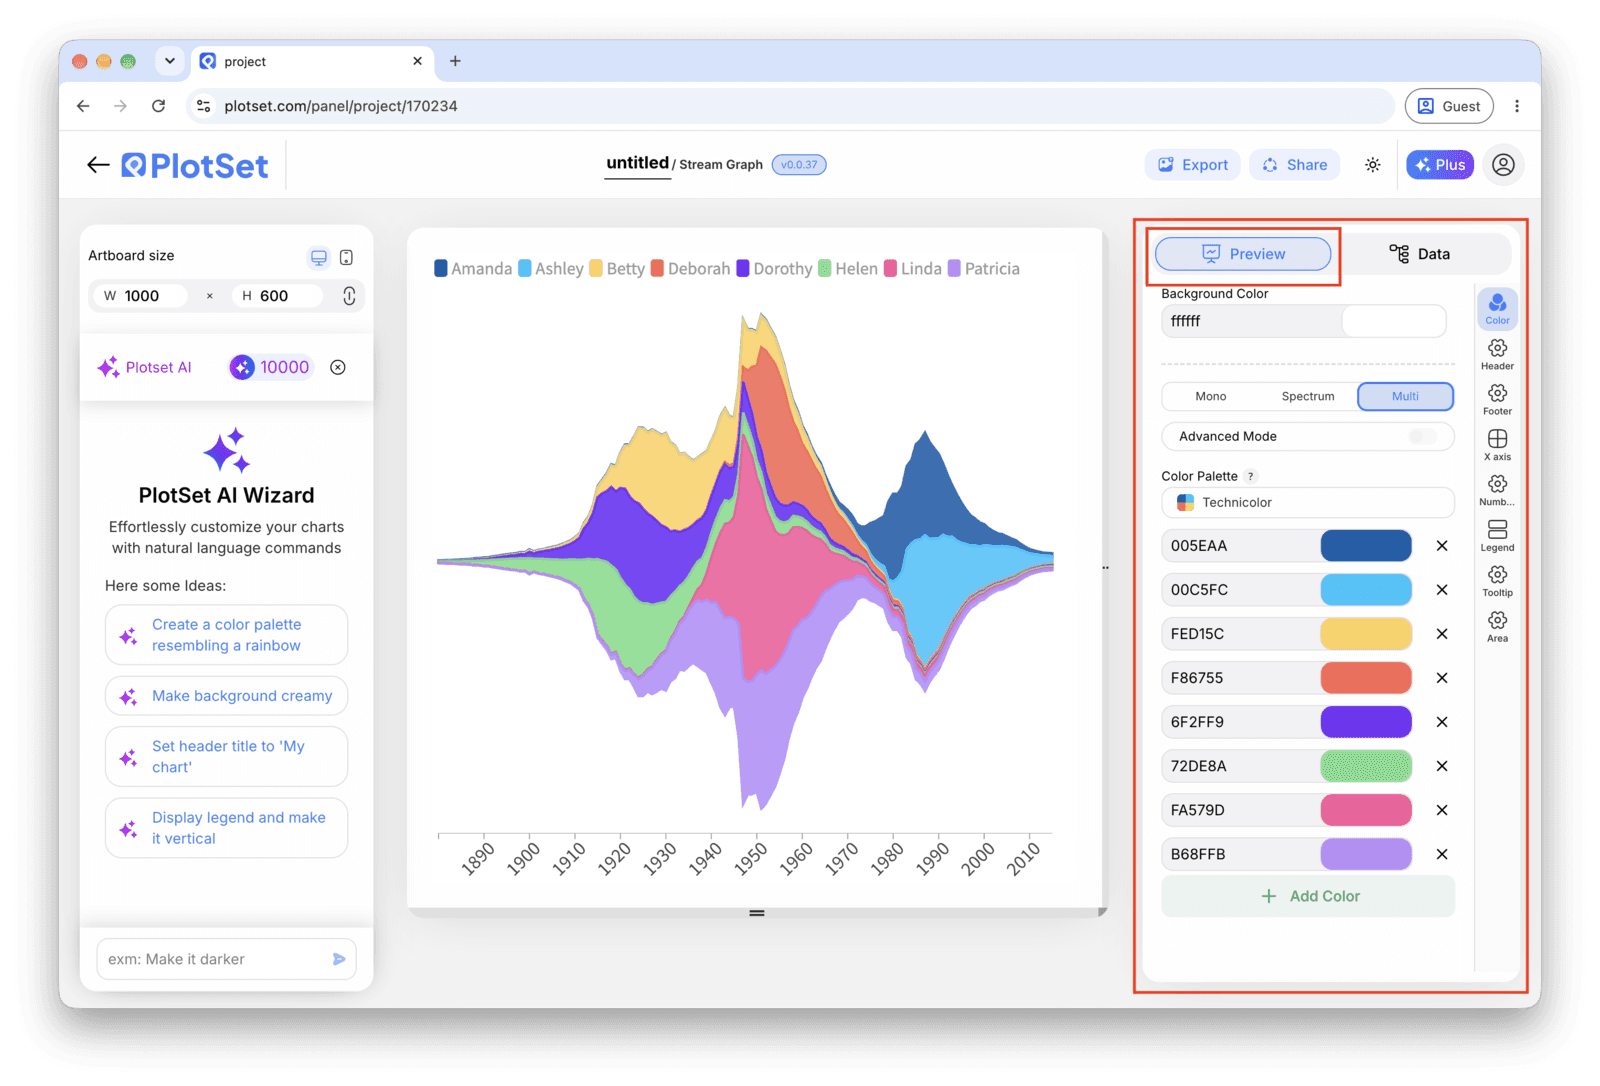
    Pick a colour scheme where related categories sit close in hue rather than a full rainbow, since with more than six or seven bands a categorical palette stops being legible. Turn on the tooltip so hovering a band shows its exact value, and skip axis labels: a stream graph has no baseline to put them against.

    The PlotSet editor on the Preview tab: a finished Stream Graph on the canvas, with the settings panel outlined in red down the right-hand side.
    The Preview tab for a Stream Graph. Every styling control lives in the outlined panel, each on its own tab: appearance, header, footer and the options specific to this chart type.
  7. 07

    Add a title that names the shift

    Because the chart has no axis to lean on, the title is doing real work. Name the change itself, for example "Hip-hop overtakes pop in monthly streams", rather than a generic label like "Streams by genre".

  8. 08

    Send it out: publish, embed or export

    Publish for a live, interactive chart where hovering isolates a band and shows its value, grab the embed code to drop it into a page, or export a PNG, SVG or PDF if you need a static image for a deck.

Start from the Stream Graph template with sample data already loaded, then swap in your own.

Open the template

Publish, embed or export it

The last stretch is the same for every chart type: Share turns the chart into a live public link and an embed code, Export writes it out as a static file.

Share: public link and embed code

Activating the embed code and public link publishes the chart. The link is safe to send to anyone, and the embed code drops into any page as an iframe that keeps the hover tooltips and the interactivity. Edit the chart later and hit Recreate to push those changes out to both.

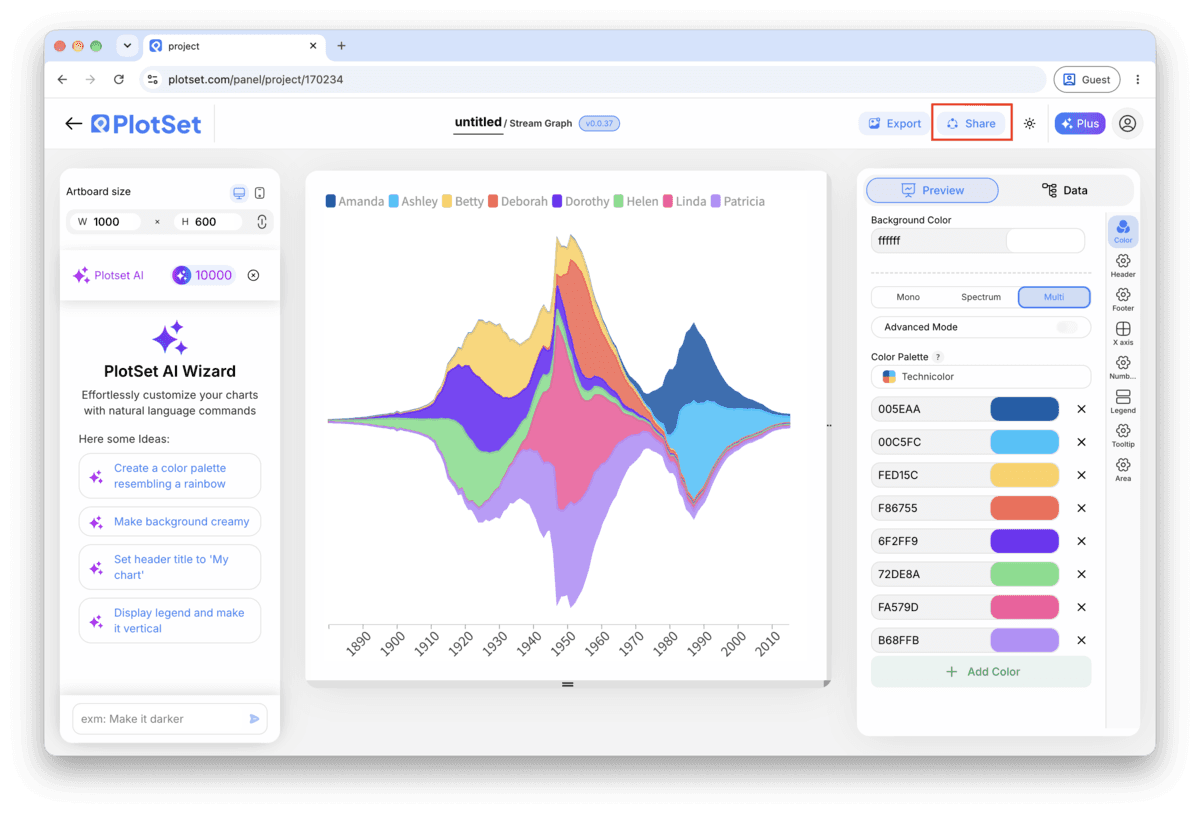
The PlotSet editor toolbar with the Share button highlighted, sitting next to the Export button.
Share is how a finished chart becomes a public link and an embed code.
PlotSet's Share dialog: the toggle activating the embed code and public link, buttons for Link, Embed, Facebook, Reddit, Twitter, LinkedIn and Email, and the public chart link with a Copy button.
Switch on the embed code and public link, then copy the link or take the iframe. Recreate pushes later edits out to everyone already holding it.

Export: SVG, PNG or JPG

Export writes a static copy at whatever size you need. SVG stays sharp at any scale and can still be edited in a design tool; PNG and JPG are the safe choices for slides and documents. The scale multiplier is what gets you a crisp image on a retina screen.

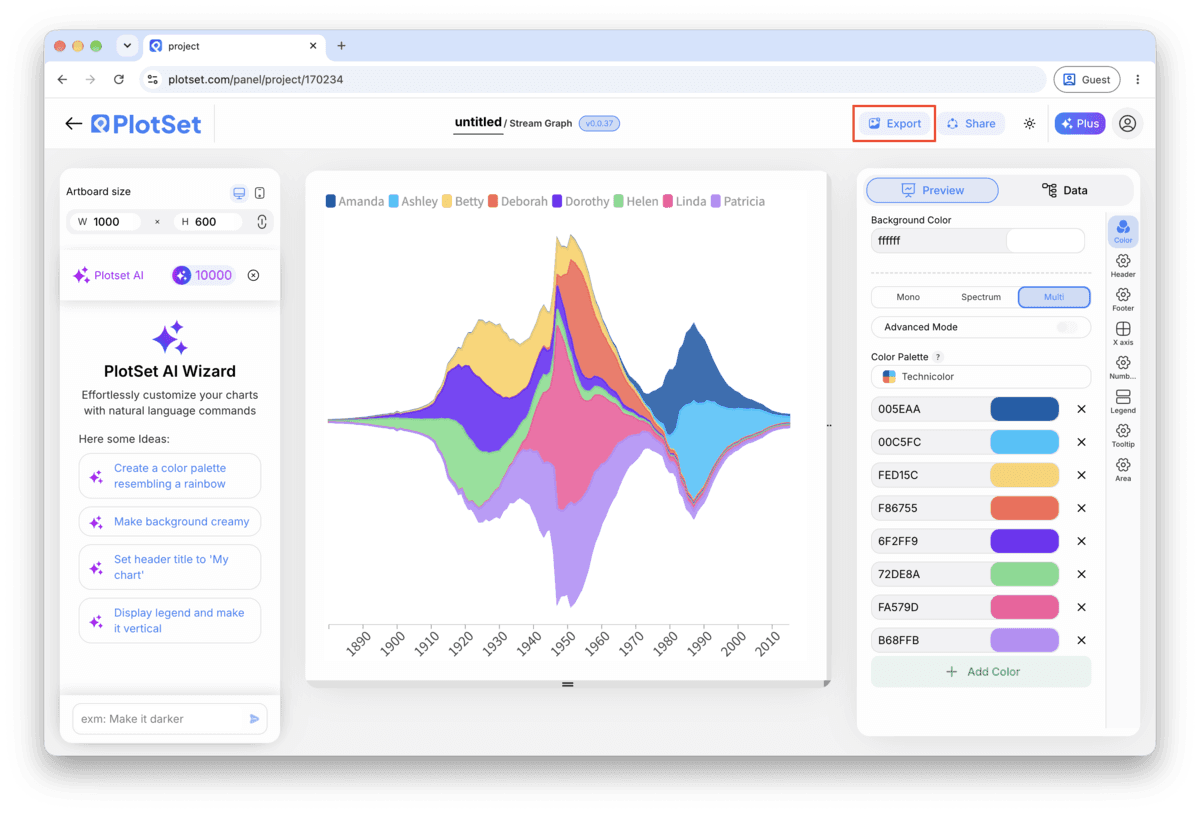
The PlotSet editor toolbar with the Export button highlighted.
Export is the route to a static file for a slide or a report.
PlotSet's Export chart dialog: a 2x scale selector, width and height fields set to 1000 by 600, and the open format menu listing SVG, PNG and JPG.
SVG stays sharp at any size and stays editable in a design tool; PNG and JPG are the safe picks for a deck. Set the scale before you export so the image is crisp on a retina screen.

Styling tips for a Stream Graph

Order by peak time first, size second

Ordering categories by when each one peaks (earliest at the edges, latest toward the centre) is what turns a knot of overlapping bands into a readable sequence. Only fall back to ordering by total size if your categories genuinely all peak around the same time.

Group small categories instead of colouring all of them

Past seven or eight bands, individual colours stop being distinguishable at a glance. Combine the smallest categories into an "Other" band before upload, or use a sequential palette within a family (three shades of blue for three related genres) rather than three unrelated hues.

Turn on hover tooltips, always

There is no axis to read a value from, so the tooltip is not a nice-to-have here, it is the only way anyone gets a number off the chart. Publish it interactively rather than exporting a static image whenever the values themselves matter.

Keep the time axis dense and evenly spaced

Weekly or monthly points with no missing periods produce smooth, trustworthy curves. A handful of widely spaced points forces PlotSet to interpolate over a long gap, which can imply a smooth rise or fall that the data never actually measured.

Common mistakes when making a Stream Graph

The bands look like a tangled knot instead of a flow

This is almost always the band order, not the data. Switch from source or alphabetical order to peak-time ordering, or try the inside-out variant. A stream graph with the wrong order is unreadable regardless of how clean the numbers underneath are.

One category shows a flat zero the whole way through

Check whether that column got read from a long-format row rather than a wide column, which leaves every cell but one blank and therefore zero. Re-pivot the source sheet so that category has its own real value at every time point.

The shape spikes sharply between two points for no reason

Look for an uneven gap in your time column, like a monthly series that skips a quarter. PlotSet interpolates across whatever gap exists, and a wide one produces a curve that looks more dramatic than the two real data points support. Fill in the missing period or shorten the interval.

Learn more about the Stream Graph

Not sure the Stream Graph is the right choice? See what it is, when to use it and when not to.

About the Stream Graph

Stream Graph: common questions

Wide format: one row per time point in the first column, one column per category, and a value in each cell. If your export is long format, one row per date-category pair, pivot it into wide format in your spreadsheet tool before uploading.

Make your Stream Graph now

Free to start with 300+ templates. No credit card required.