
CSV de ejemplo
| Metric | Value |
|---|---|
| Trees planted | 1284500 |
| Volunteers | 18430 |
| Countries reached | 64 |
| Schools supported | 1207 |
A step by step walkthrough for building an animated counter in PlotSet, for one headline figure or a grid of statistics, with an embed code you can paste anywhere.
Unos 5 minutosYou will end up with a large number that counts up to its value when the page loads, with an optional prefix, suffix and caption.
Expect about five minutes. A single figure takes two, and a grid of statistics takes a little longer.
For a single figure no data is needed. For a grid, one row per statistic with a label and a value.
| Metric | Value |
|---|---|
| Trees planted | 1284500 |
| Volunteers | 18430 |
| Countries reached | 64 |
| Schools supported | 1207 |
The value column is read as a number.
The label column becomes the caption under each counter.
In Single mode you can type the number in the settings and leave the sheet alone.
Write numbers without thousands separators in the sheet. The ticker adds them.
El camino exacto en PlotSet, desde una plantilla en blanco hasta el gráfico terminado.
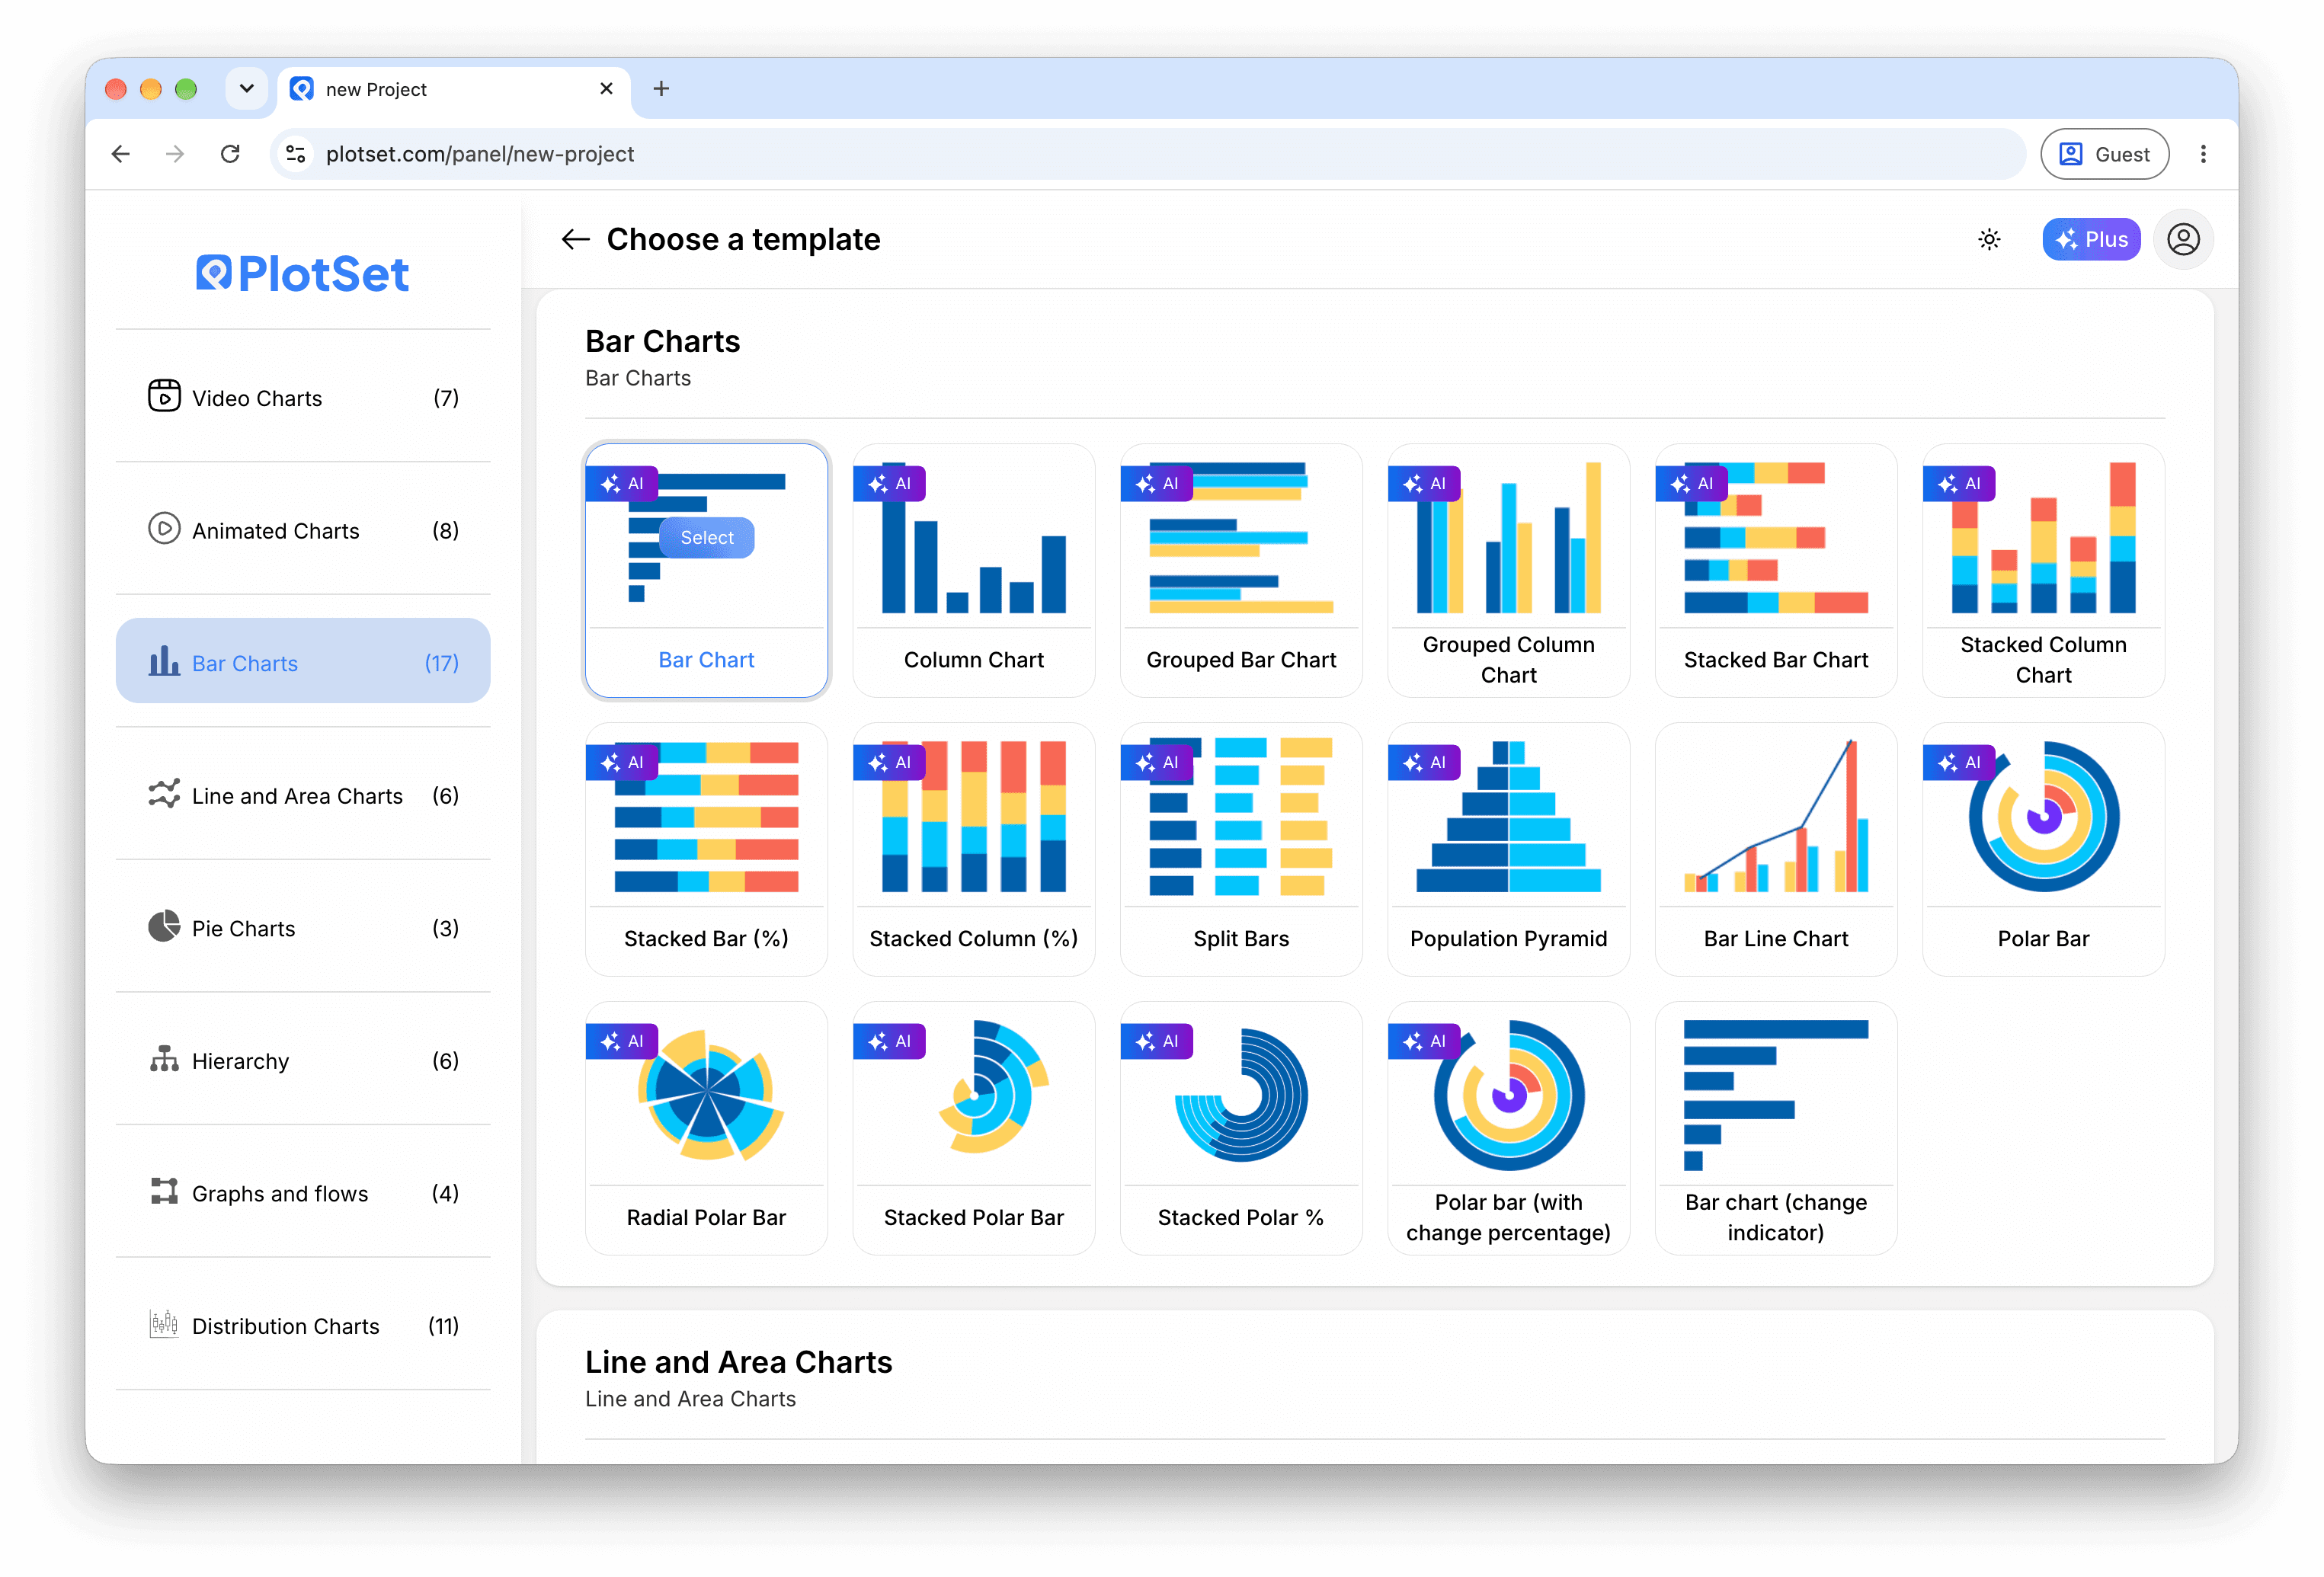
From the PlotSet dashboard, start a new project and search for Number Ticker. It opens with a single counter that counts up to 1000.
In the Value tab, choose Single for one number, Template for text with numbers inside it, or From data for a counter per row.
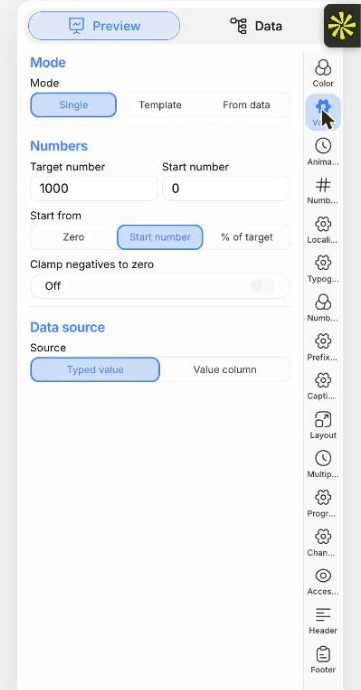
In Single mode, type the target and the start number. In From data mode, paste rows or import a CSV or .xlsx file.
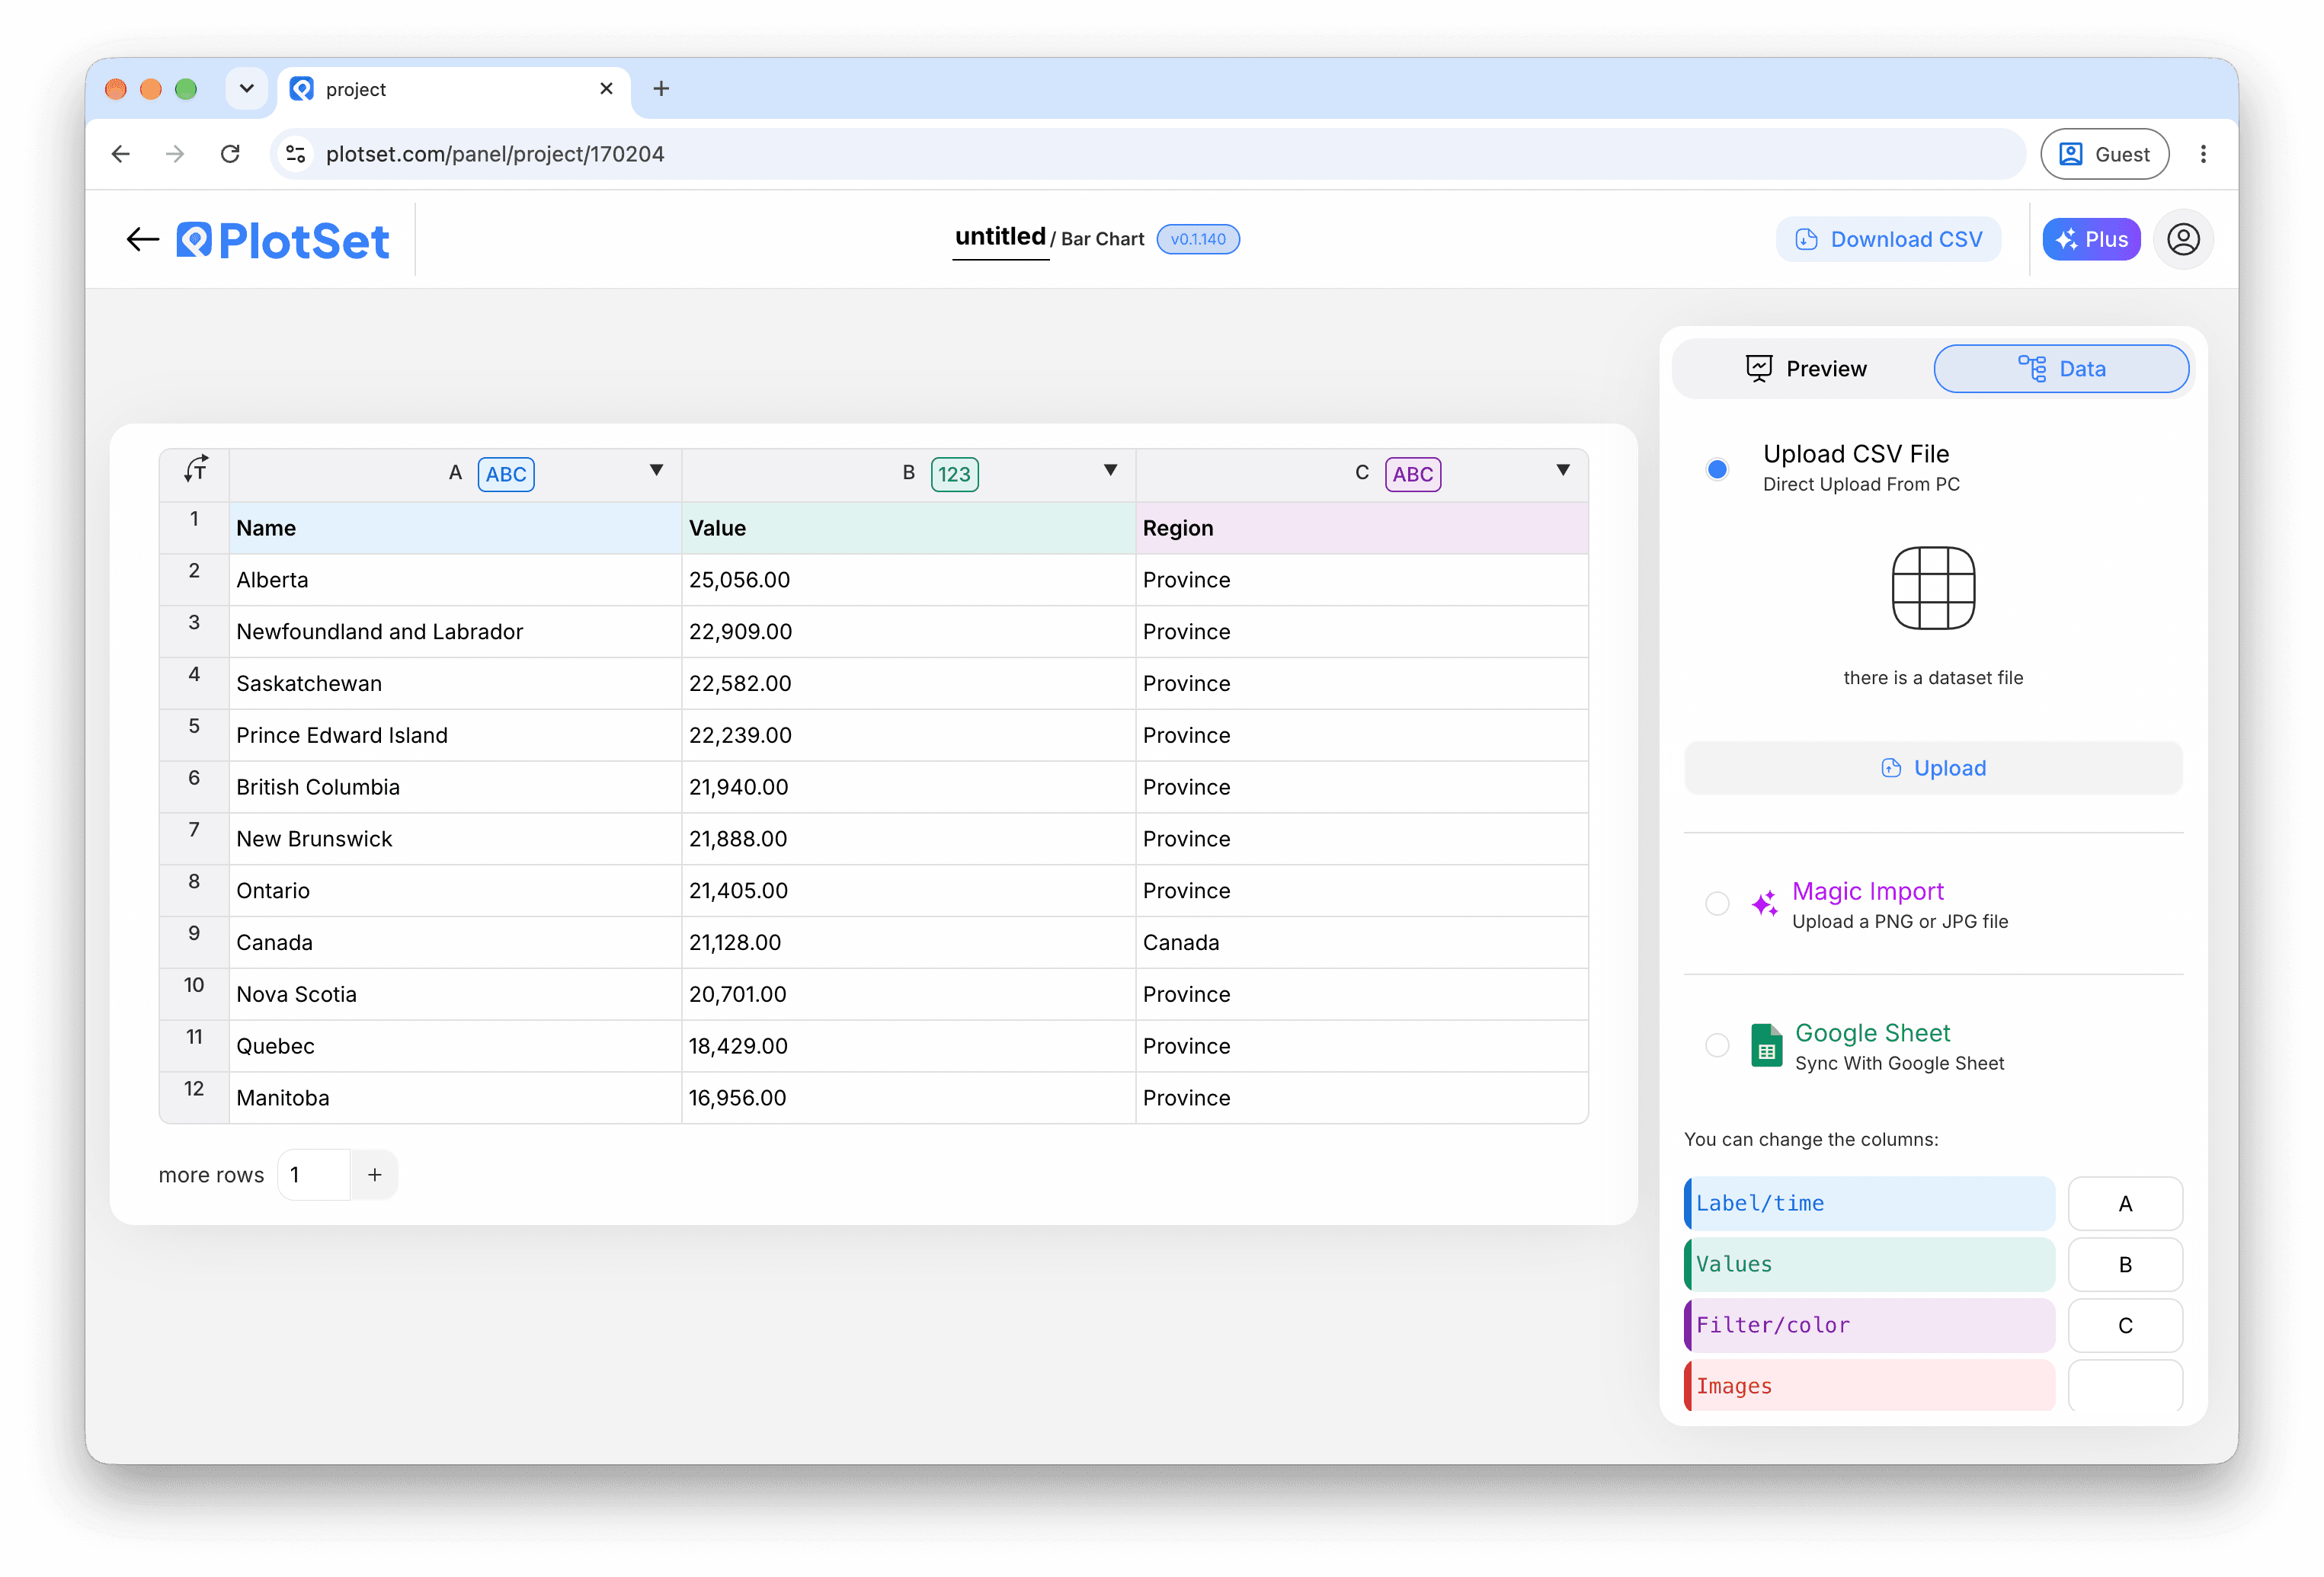
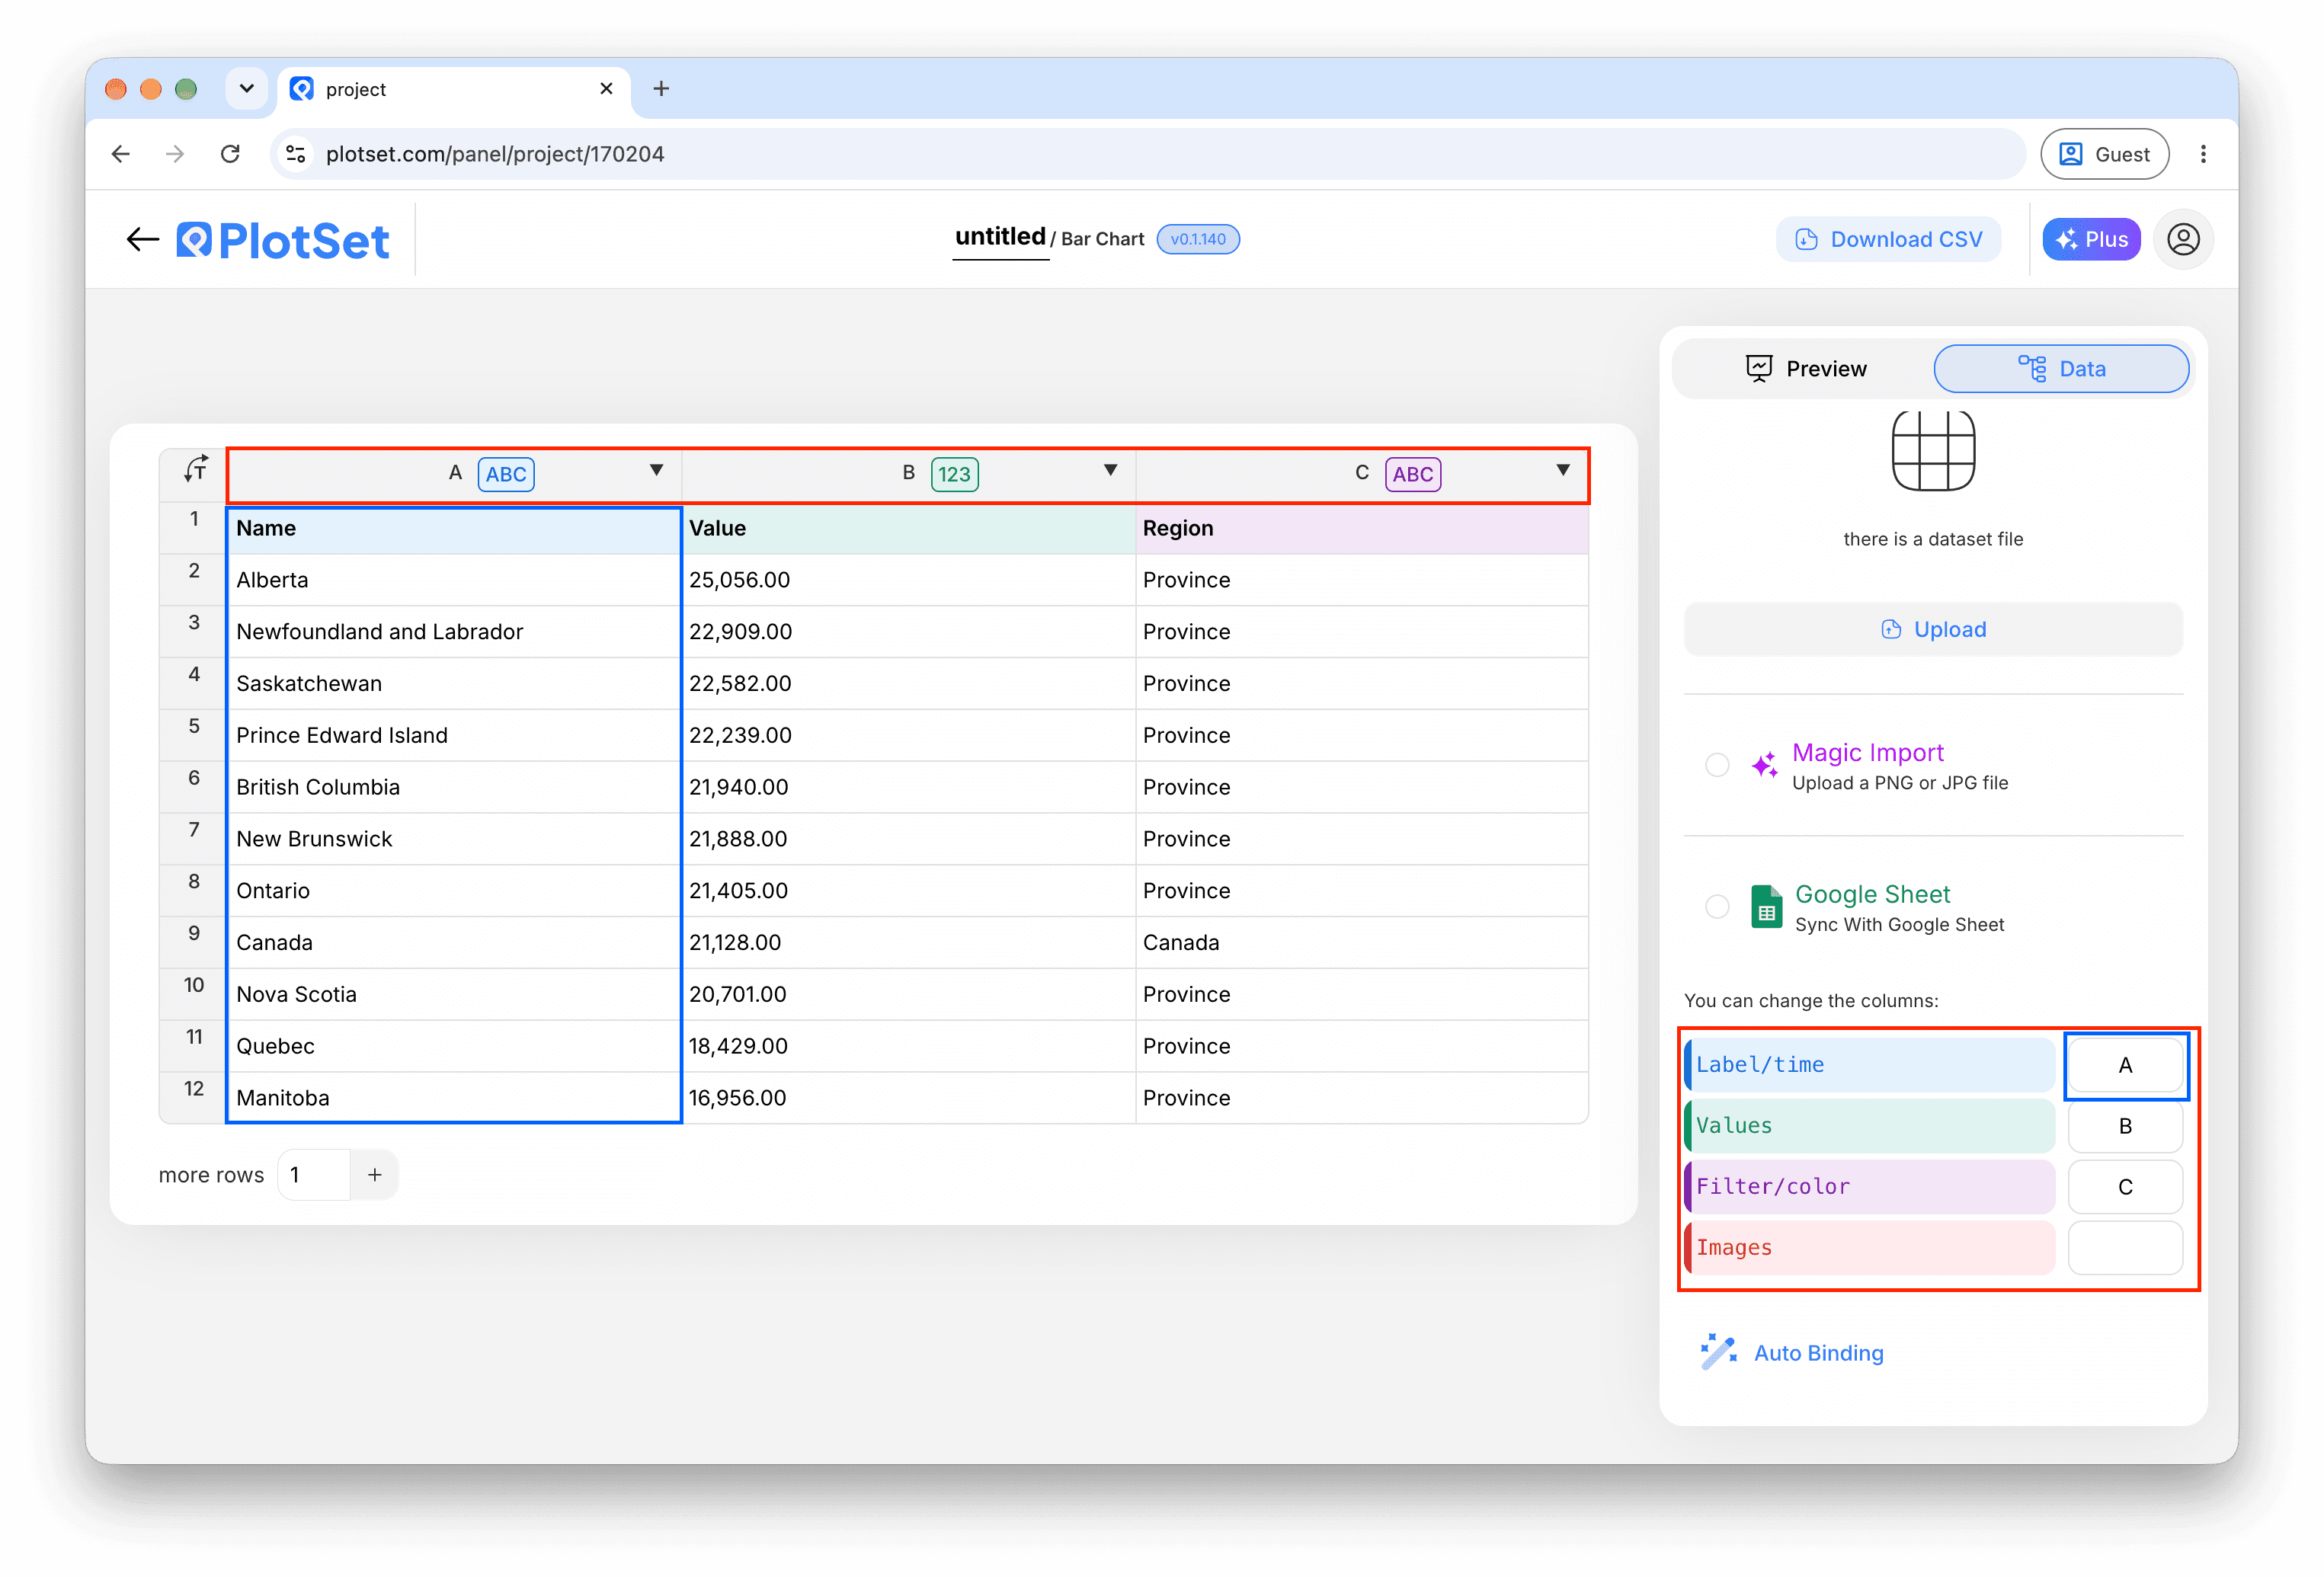
Bind the value column to Value and the label column to Label. In Single mode with a typed value, you can skip this.
In the Number format tab, add a prefix or suffix, set the decimals and choose the grouping, or abbreviate large numbers.
In the Animation tab, set the duration and easing, and choose whether the count repeats or runs once.
The Typography and Number color tabs set the font, the size and the colour, including a gradient or a colour that changes with progress.
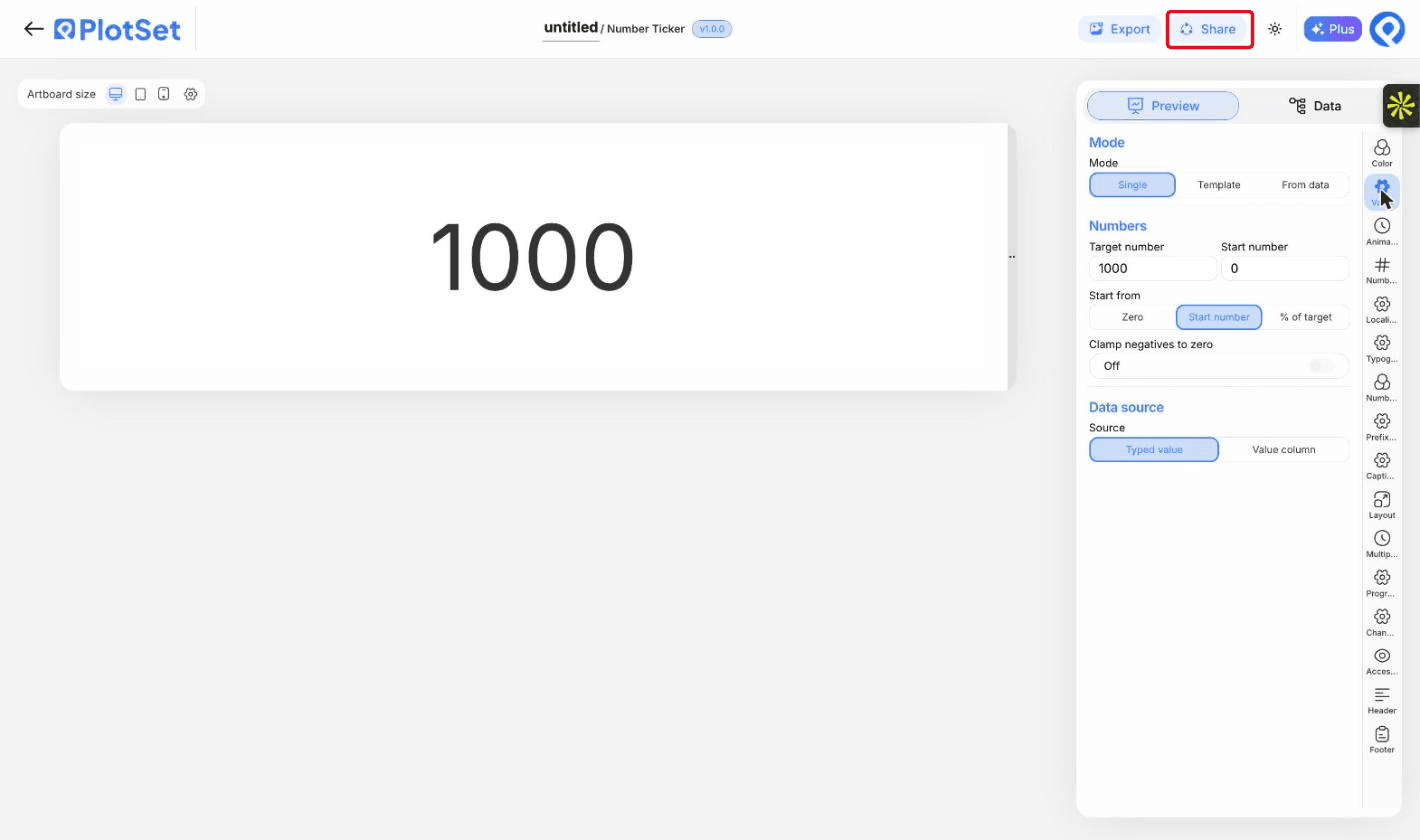
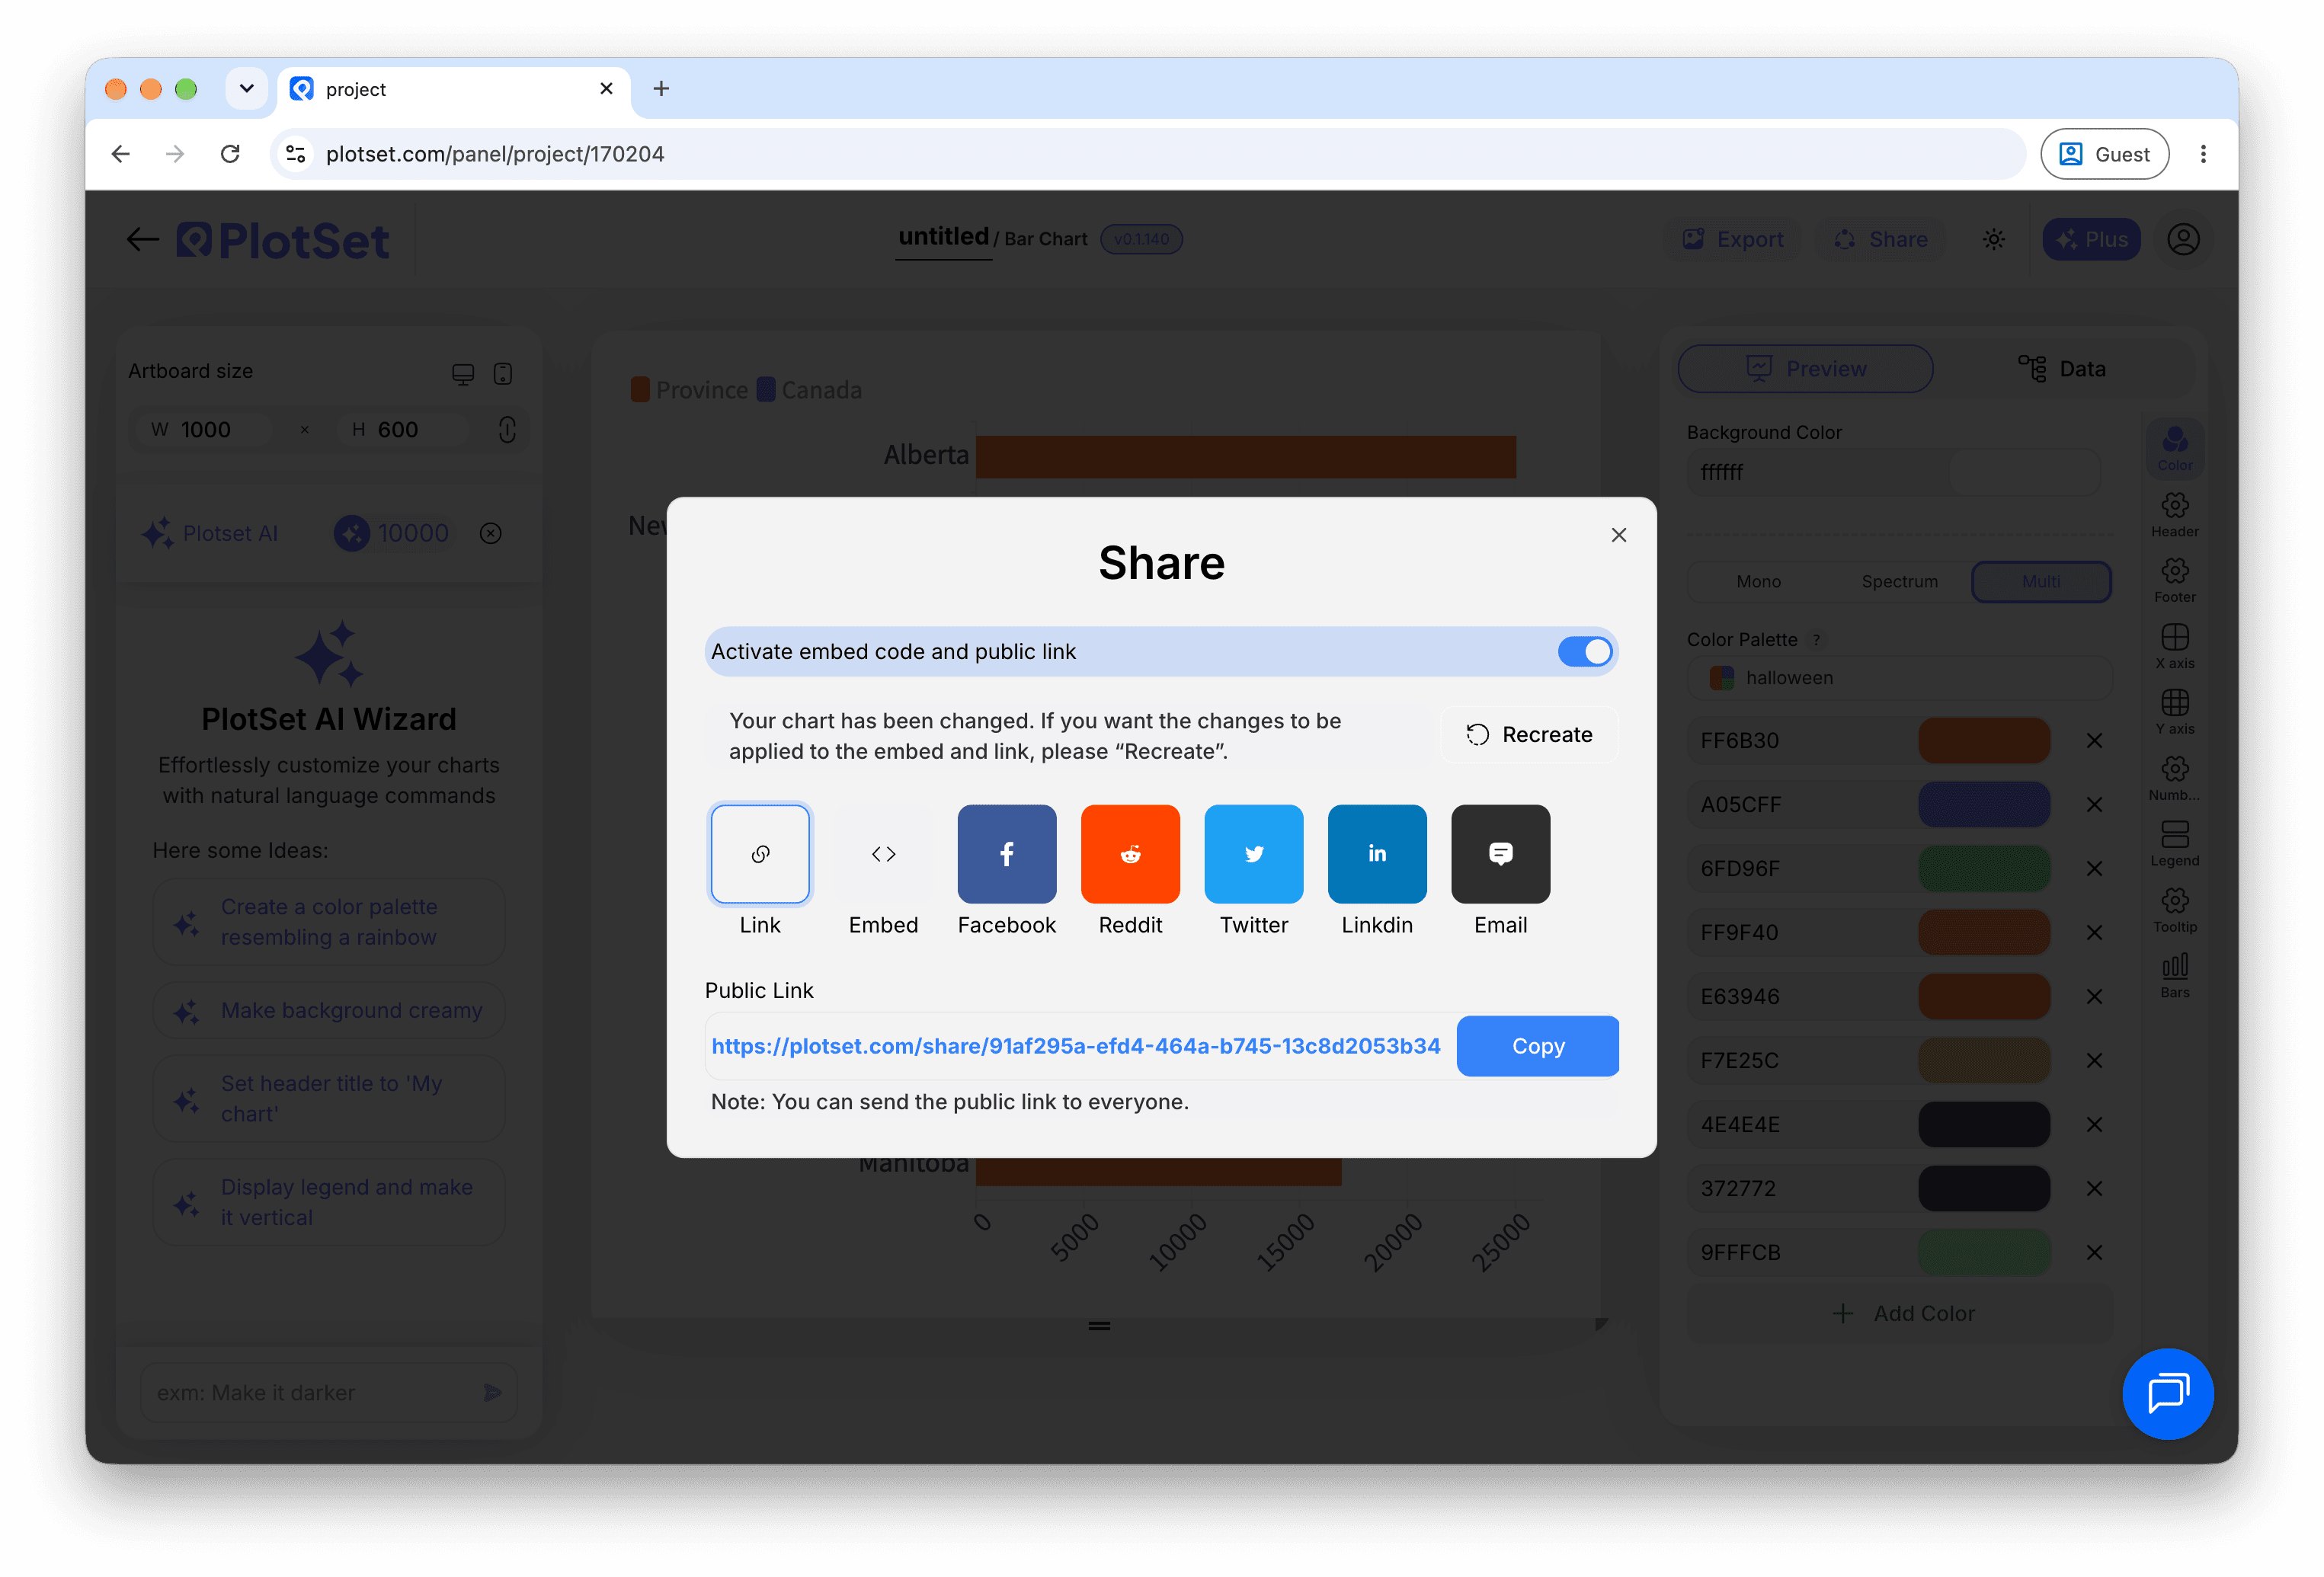
Publish for a live chart and copy the embed code from the Share dialog. Reload the page to watch the count run.
Empieza con la plantilla de Number Ticker, que ya trae datos de ejemplo cargados, y sustitúyelos por los tuyos.
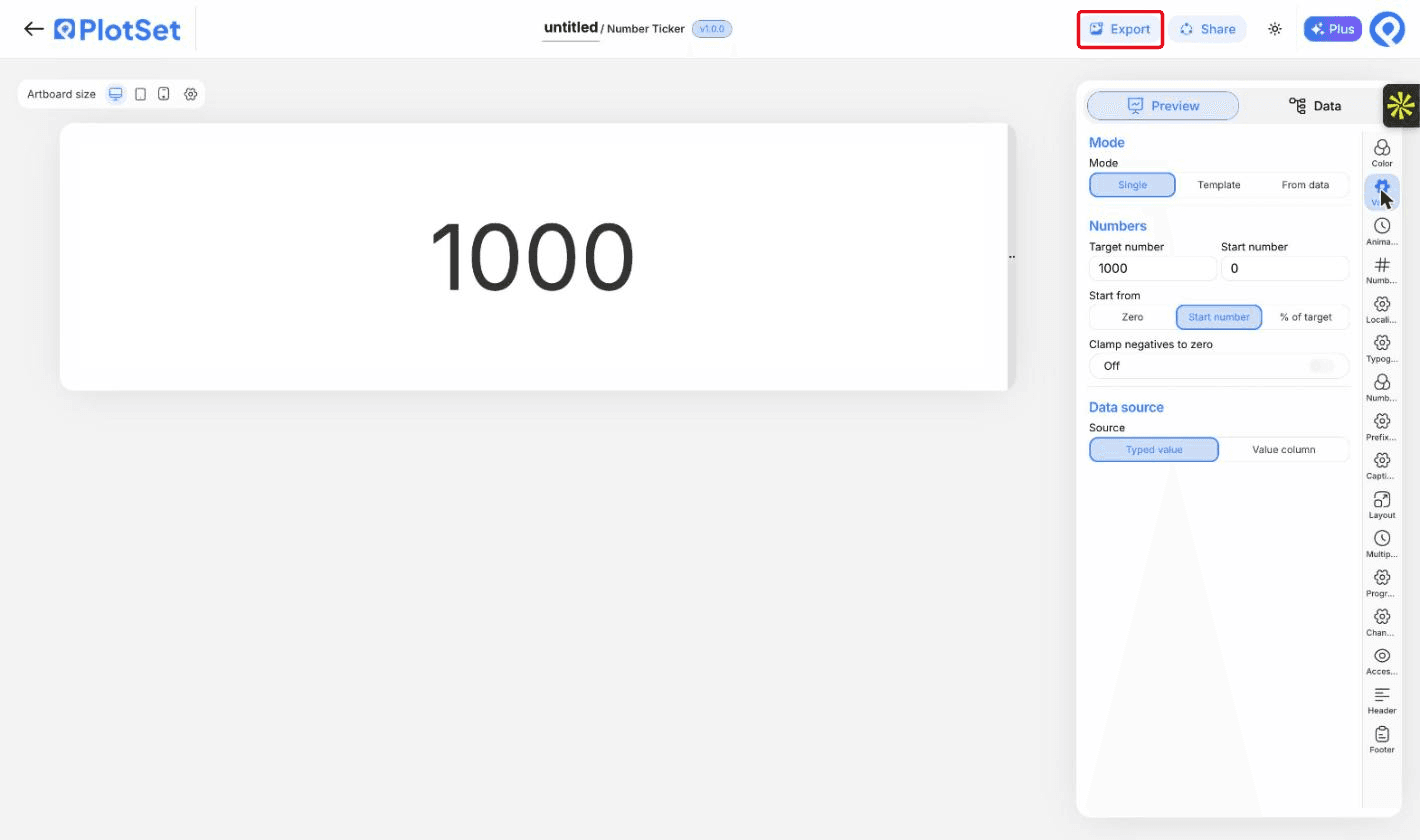
Abrir la plantillaEl último tramo es igual en todos los tipos de gráfico: Share convierte el gráfico en un enlace público en vivo y un código de incrustación, y Export lo guarda como un archivo estático.
Al activar el código de incrustación y el enlace público, el gráfico queda publicado. El enlace se lo puedes enviar a cualquiera sin problema, y el código de incrustación se coloca en cualquier página como un iframe que conserva los tooltips al pasar el cursor y toda la interactividad. Si editas el gráfico más adelante, haz clic en Recreate para llevar esos cambios a ambos.
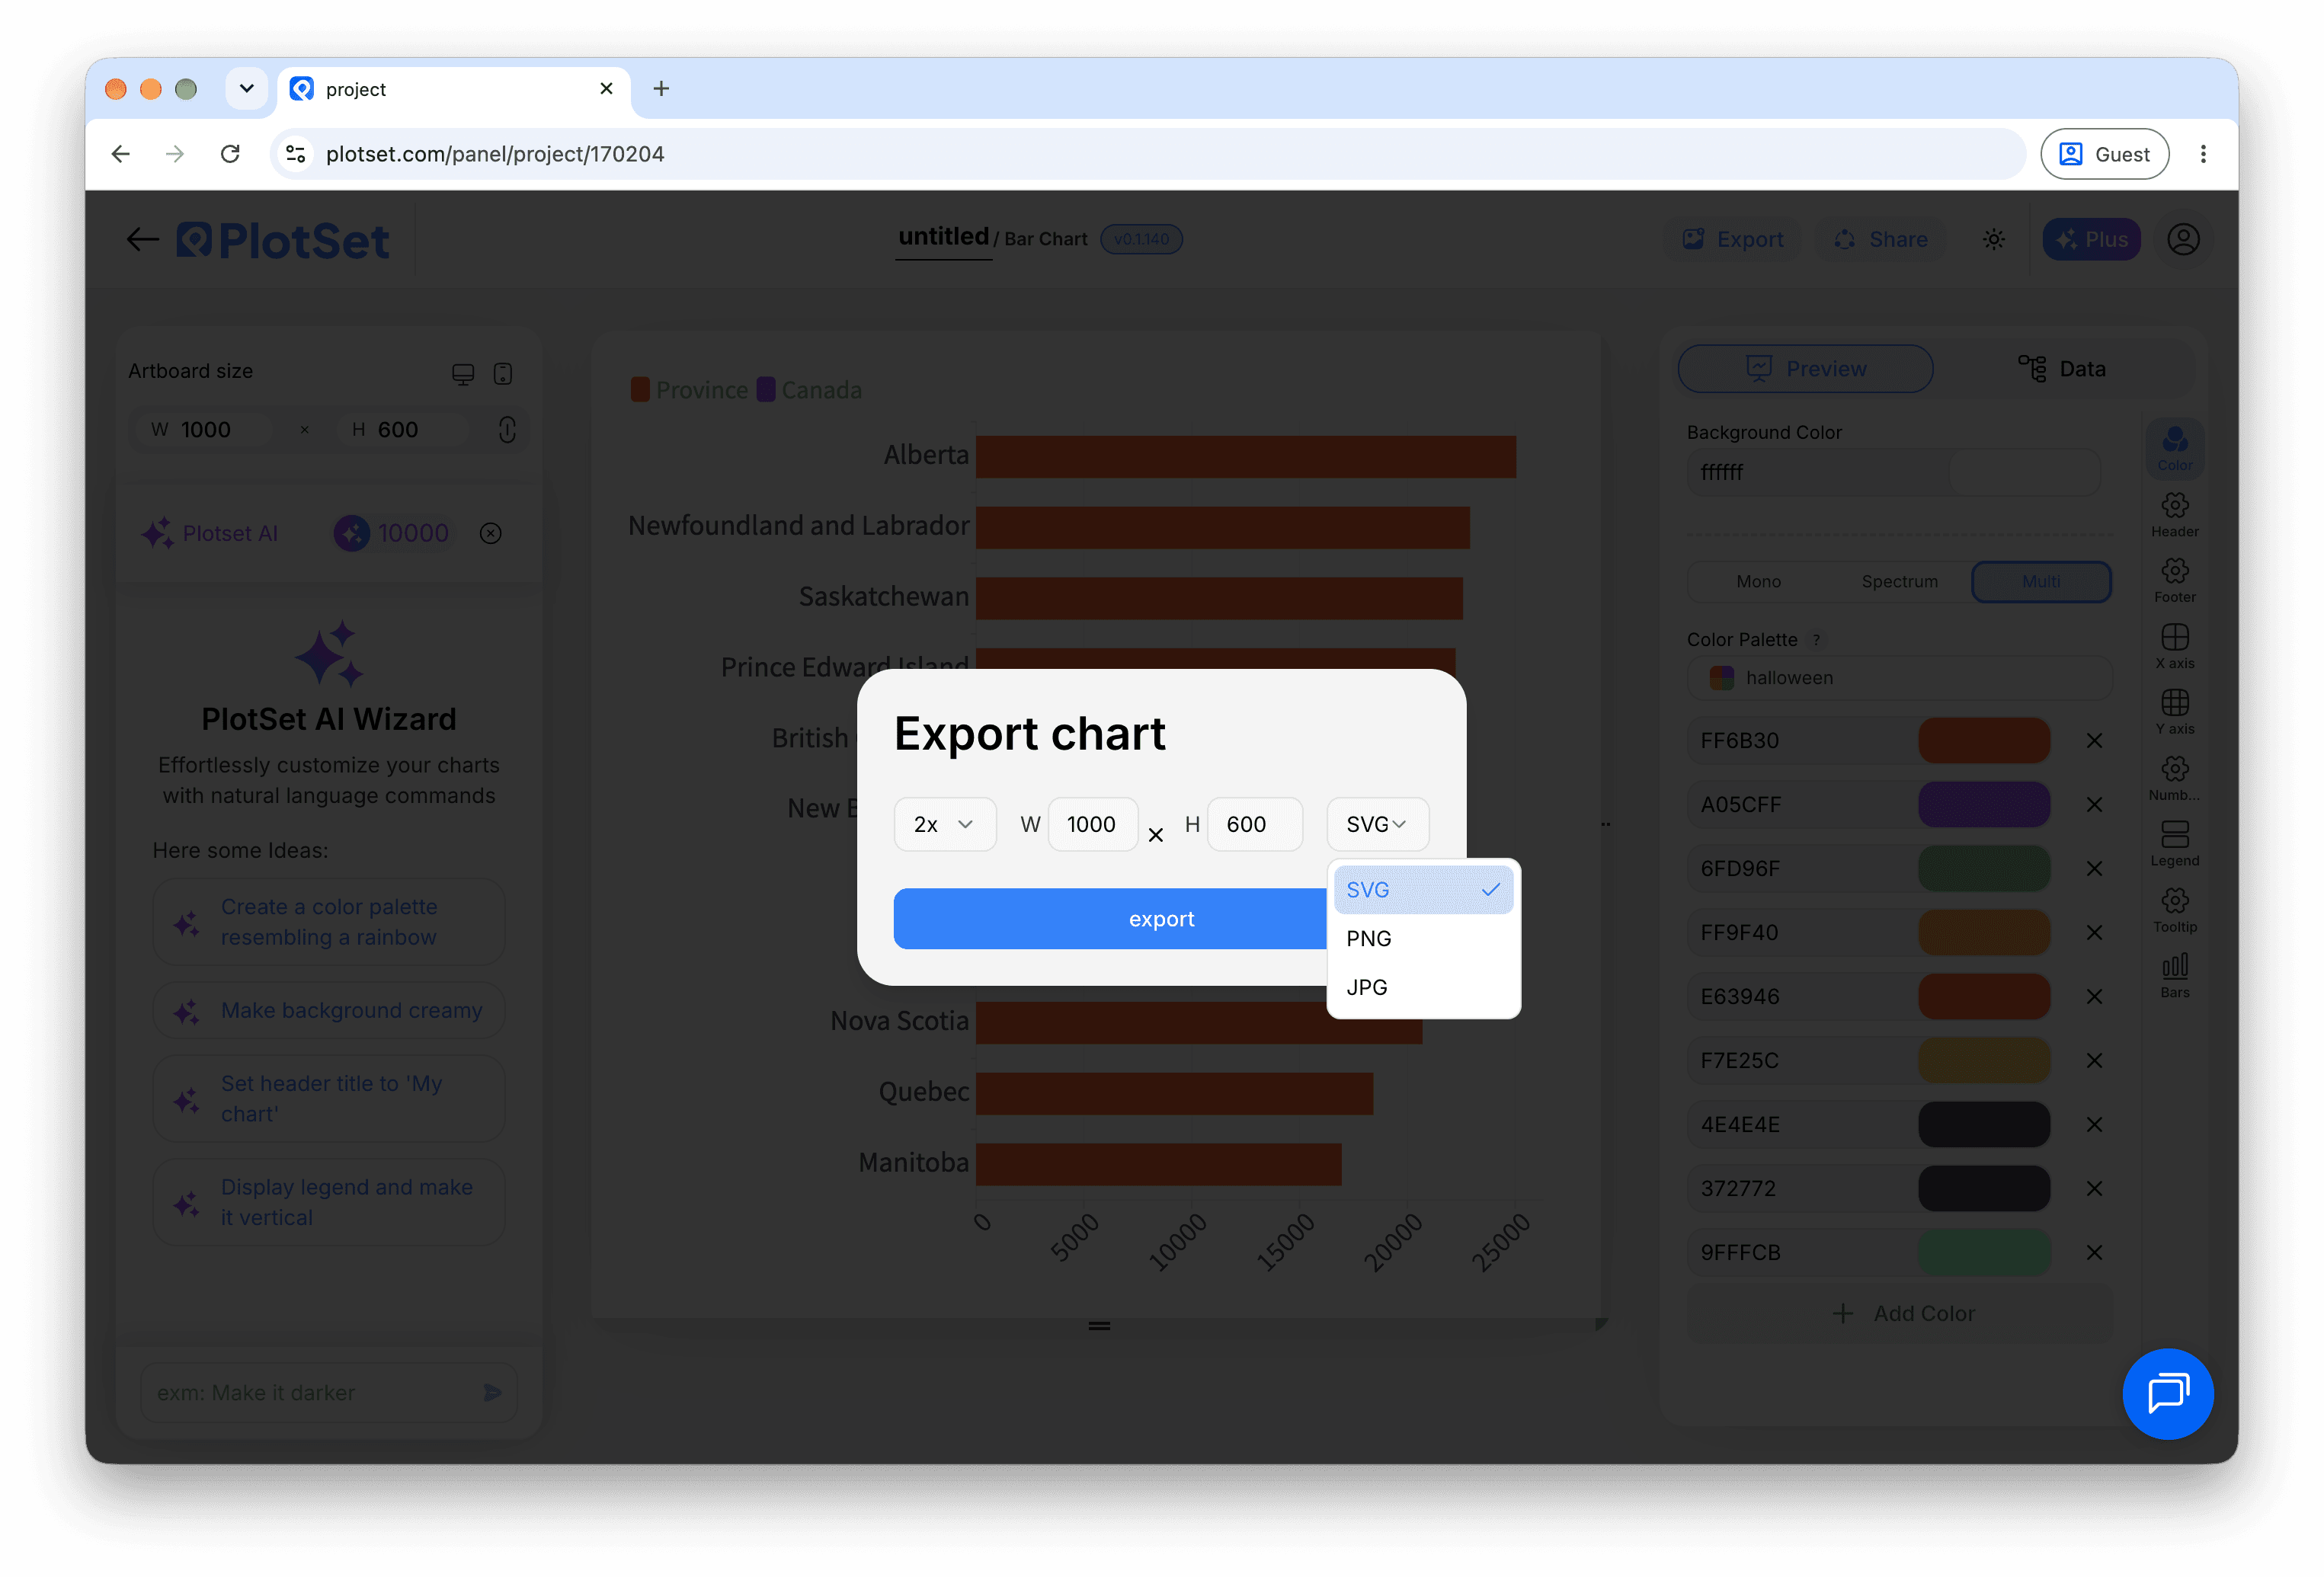
Export guarda una copia estática en el tamaño que necesites. El SVG se mantiene nítido a cualquier escala y se puede seguir editando en una herramienta de diseño; PNG y JPG son la opción segura para diapositivas y documentos. El multiplicador de escala es lo que te da una imagen nítida en una pantalla retina.
A start number close to the target shows growth honestly. Start at zero for a figure that is new.
Two to three seconds is enough for most pages.
A short line under the number says what it counts.
1.3M reads faster than 1,284,500 in a narrow embed.
Four digit numbers print without one. Figures of 10,000 and over get it.
From data mode needs a value column. Check that it is bound and holds numbers.
It runs when the chart loads. Reload the page to see it again.
Auto-fit shrinks the figures to the smallest cell. Reduce the columns or shorten the longest value.
¿No estás seguro de que el Number Ticker sea la opción correcta? Descubre qué es, cuándo usarlo y cuándo no.
Yes. Set a start number higher than the target.
Gratis para empezar con más de 600 plantillas. No se necesita tarjeta de crédito.